Flexible Replacement Part
Follow the service sequence to avoid damaging the LEDs, latch, and internal optical components.
Follow the order
Do not pry the flexible part before removing the cover, and do not touch or scratch the internal lens. Performing the steps out of order can permanently damage the optical assembly.
Tools
- One flexible replacement part.
- A small wrench or electric screwdriver with an M2 bit.
- Air blower and lens tissue.
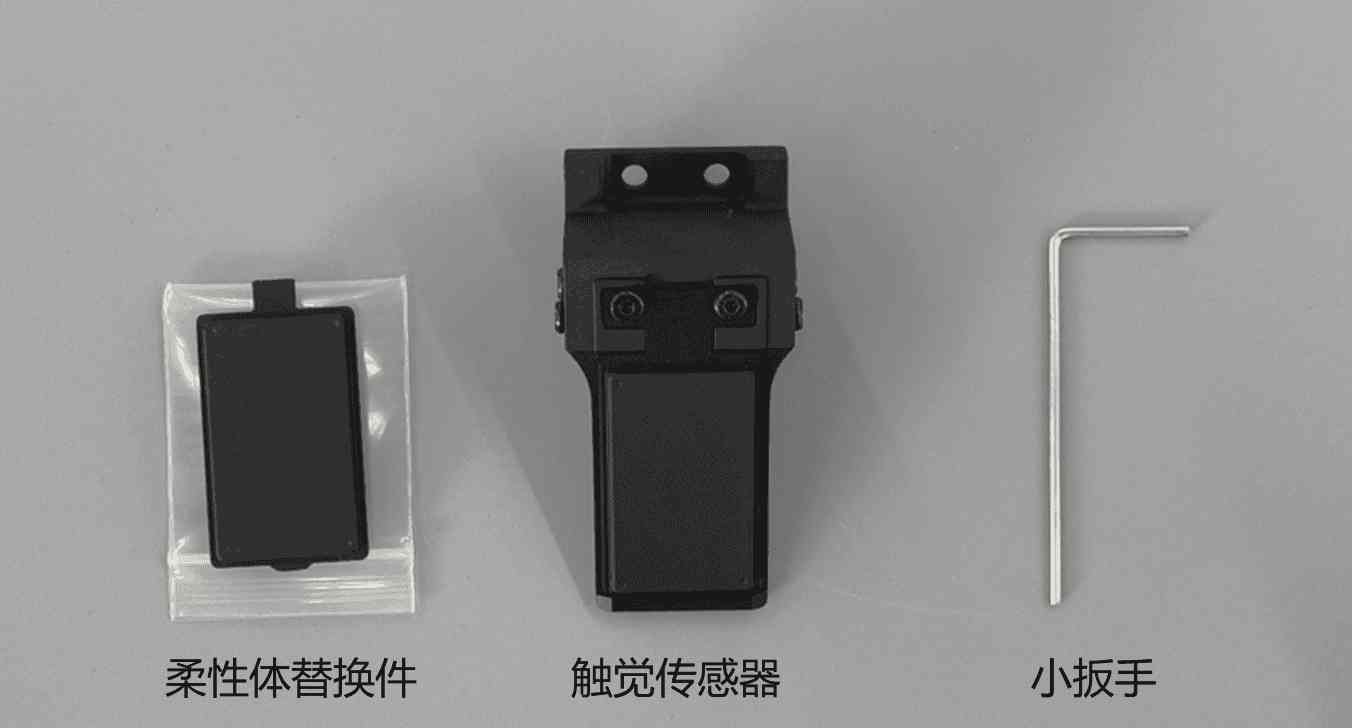
Procedure
- Power off the sensor, remove the two M2 screws, and remove the sheet-metal cover.
- Use the small wrench to carefully release the latch and remove the old flexible part.
- Inspect the optical surface and internal lens. Blow dust away before gently wiping with lens tissue.
- Install the new part in the original orientation and fully engage the latch.
- Reinstall the cover and tighten the screws in a cross pattern.